Activate your invitation
Open the invitation email
Click the sign-up link. It pre-fills your email and attaches you to your organisation automatically.
Set a password
Enter your first name, last name, and a password. cf0 verifies the email address before activating the account.
Organisations
Every cf0 account belongs to an organisation. There are no personal accounts — research, documents, reports, and skills live within the org workspace.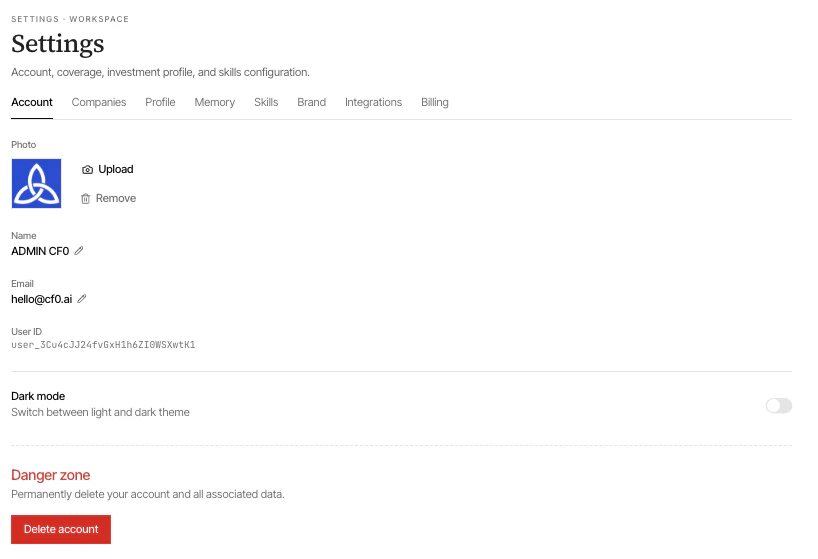
Profile
Tells cf0 what you cover and how to frame answers. All settings live under Settings → Profile.| Field | Options |
|---|---|
| Role | Analyst · Portfolio manager · Research operations · Other |
| Sectors | Technology · Healthcare · Financials · Energy · Consumer Discretionary · Consumer Staples · Industrials · Real Estate · Materials |
| Language | English · Portuguese · Spanish · French · German · Chinese — every response and report renders in this language |
Invite your team
Org admins invite teammates from Settings → Companies.Invite (or bulk invite)
Click Invite, enter an email, choose a role:
- Member — full feature access within the org
- Admin — also manages members, brand, and integrations