> ## Documentation Index
> Fetch the complete documentation index at: https://docs.cf0.ai/llms.txt
> Use this file to discover all available pages before exploring further.
# Account setup
> Activate your cf0 invitation, set up your analyst profile, and invite the rest of your team with admin or member roles. Five minutes end to end.
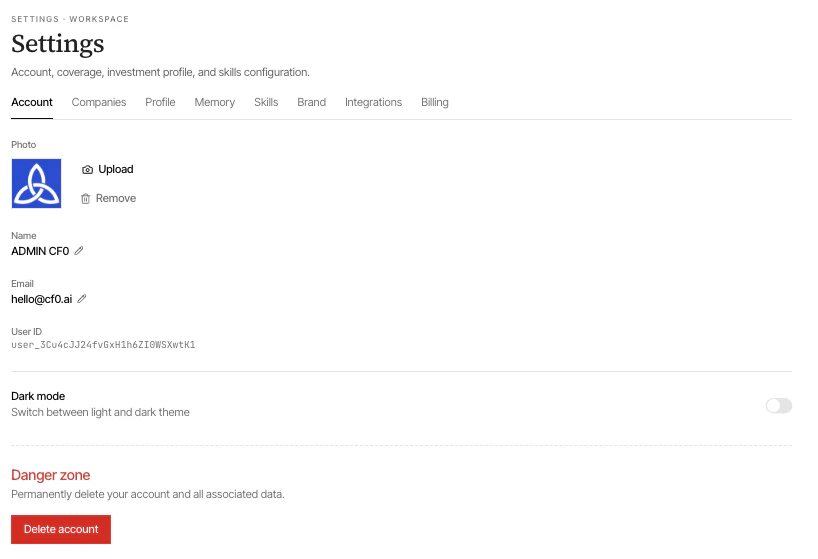
cf0 accounts are invite-only. Once your firm is provisioned, sign-up is three steps. After that, you control role, sectors, and language from **Settings → Profile** at any time.
## Activate your invitation
Click the sign-up link. It pre-fills your email and attaches you to your organisation automatically.
Enter your first name, last name, and a password. cf0 verifies the email address before activating the account.
cf0 walks you through role, sectors, and preferred language. Skip any optional step and revisit later via **Settings → Profile**.
## Organisations
Every cf0 account belongs to an organisation. There are no personal accounts — research, documents, reports, and skills live within the org workspace.
 ## Profile
Tells cf0 what you cover and how to frame answers. All settings live under **Settings → Profile**.
| Field | Options |
| -------- | --------------------------------------------------------------------------------------------------------------------------------- |
| Role | Analyst · Portfolio manager · Research operations · Other |
| Sectors | Technology · Healthcare · Financials · Energy · Consumer Discretionary · Consumer Staples · Industrials · Real Estate · Materials |
| Language | English · Portuguese · Spanish · French · German · Chinese — every response and report renders in this language |
Your profile is private to you. It isn't shared across the org.
## Invite your team
Org admins invite teammates from **Settings → Companies**.
You'll see the team roster and any pending invitations.
Click **Invite**, enter an email, choose a role:
* **Member** — full feature access within the org
* **Admin** — also manages members, brand, and integrations
Use **Bulk invite** to paste multiple addresses at once with the same role.
Use the role selector or the remove icon next to any member row.
For the full Settings surface (Memory, Brand, Integrations, and per-tab detail), see [Settings](/workspace/settings).
## Profile
Tells cf0 what you cover and how to frame answers. All settings live under **Settings → Profile**.
| Field | Options |
| -------- | --------------------------------------------------------------------------------------------------------------------------------- |
| Role | Analyst · Portfolio manager · Research operations · Other |
| Sectors | Technology · Healthcare · Financials · Energy · Consumer Discretionary · Consumer Staples · Industrials · Real Estate · Materials |
| Language | English · Portuguese · Spanish · French · German · Chinese — every response and report renders in this language |
Your profile is private to you. It isn't shared across the org.
## Invite your team
Org admins invite teammates from **Settings → Companies**.
You'll see the team roster and any pending invitations.
Click **Invite**, enter an email, choose a role:
* **Member** — full feature access within the org
* **Admin** — also manages members, brand, and integrations
Use **Bulk invite** to paste multiple addresses at once with the same role.
Use the role selector or the remove icon next to any member row.
For the full Settings surface (Memory, Brand, Integrations, and per-tab detail), see [Settings](/workspace/settings).